We are almost done. Now on the last step we have to measure the SWR and cut the antenna to the right lengh.
We will have to put the antenna to some height. I have choosen a 10m fiberglass mast and an Umbrella stand.

You will have to put the antenna up and down a lot so if you are not usig a foldable mast make sure you can put the antenna up and down easily. I have choosen a inverted V setup.
Get your SWR analyser or a radio with a SWR Meter and set it to the 10m band. I have choosen a center frequency of 29mhz.
Tune for the lowest SWR on your Analyser. When the frequency is under (in our case 29mhz) you have to shorten the antenna. If the frequency is over your intended frequency you should make the antenna longer. Wich would be bad.
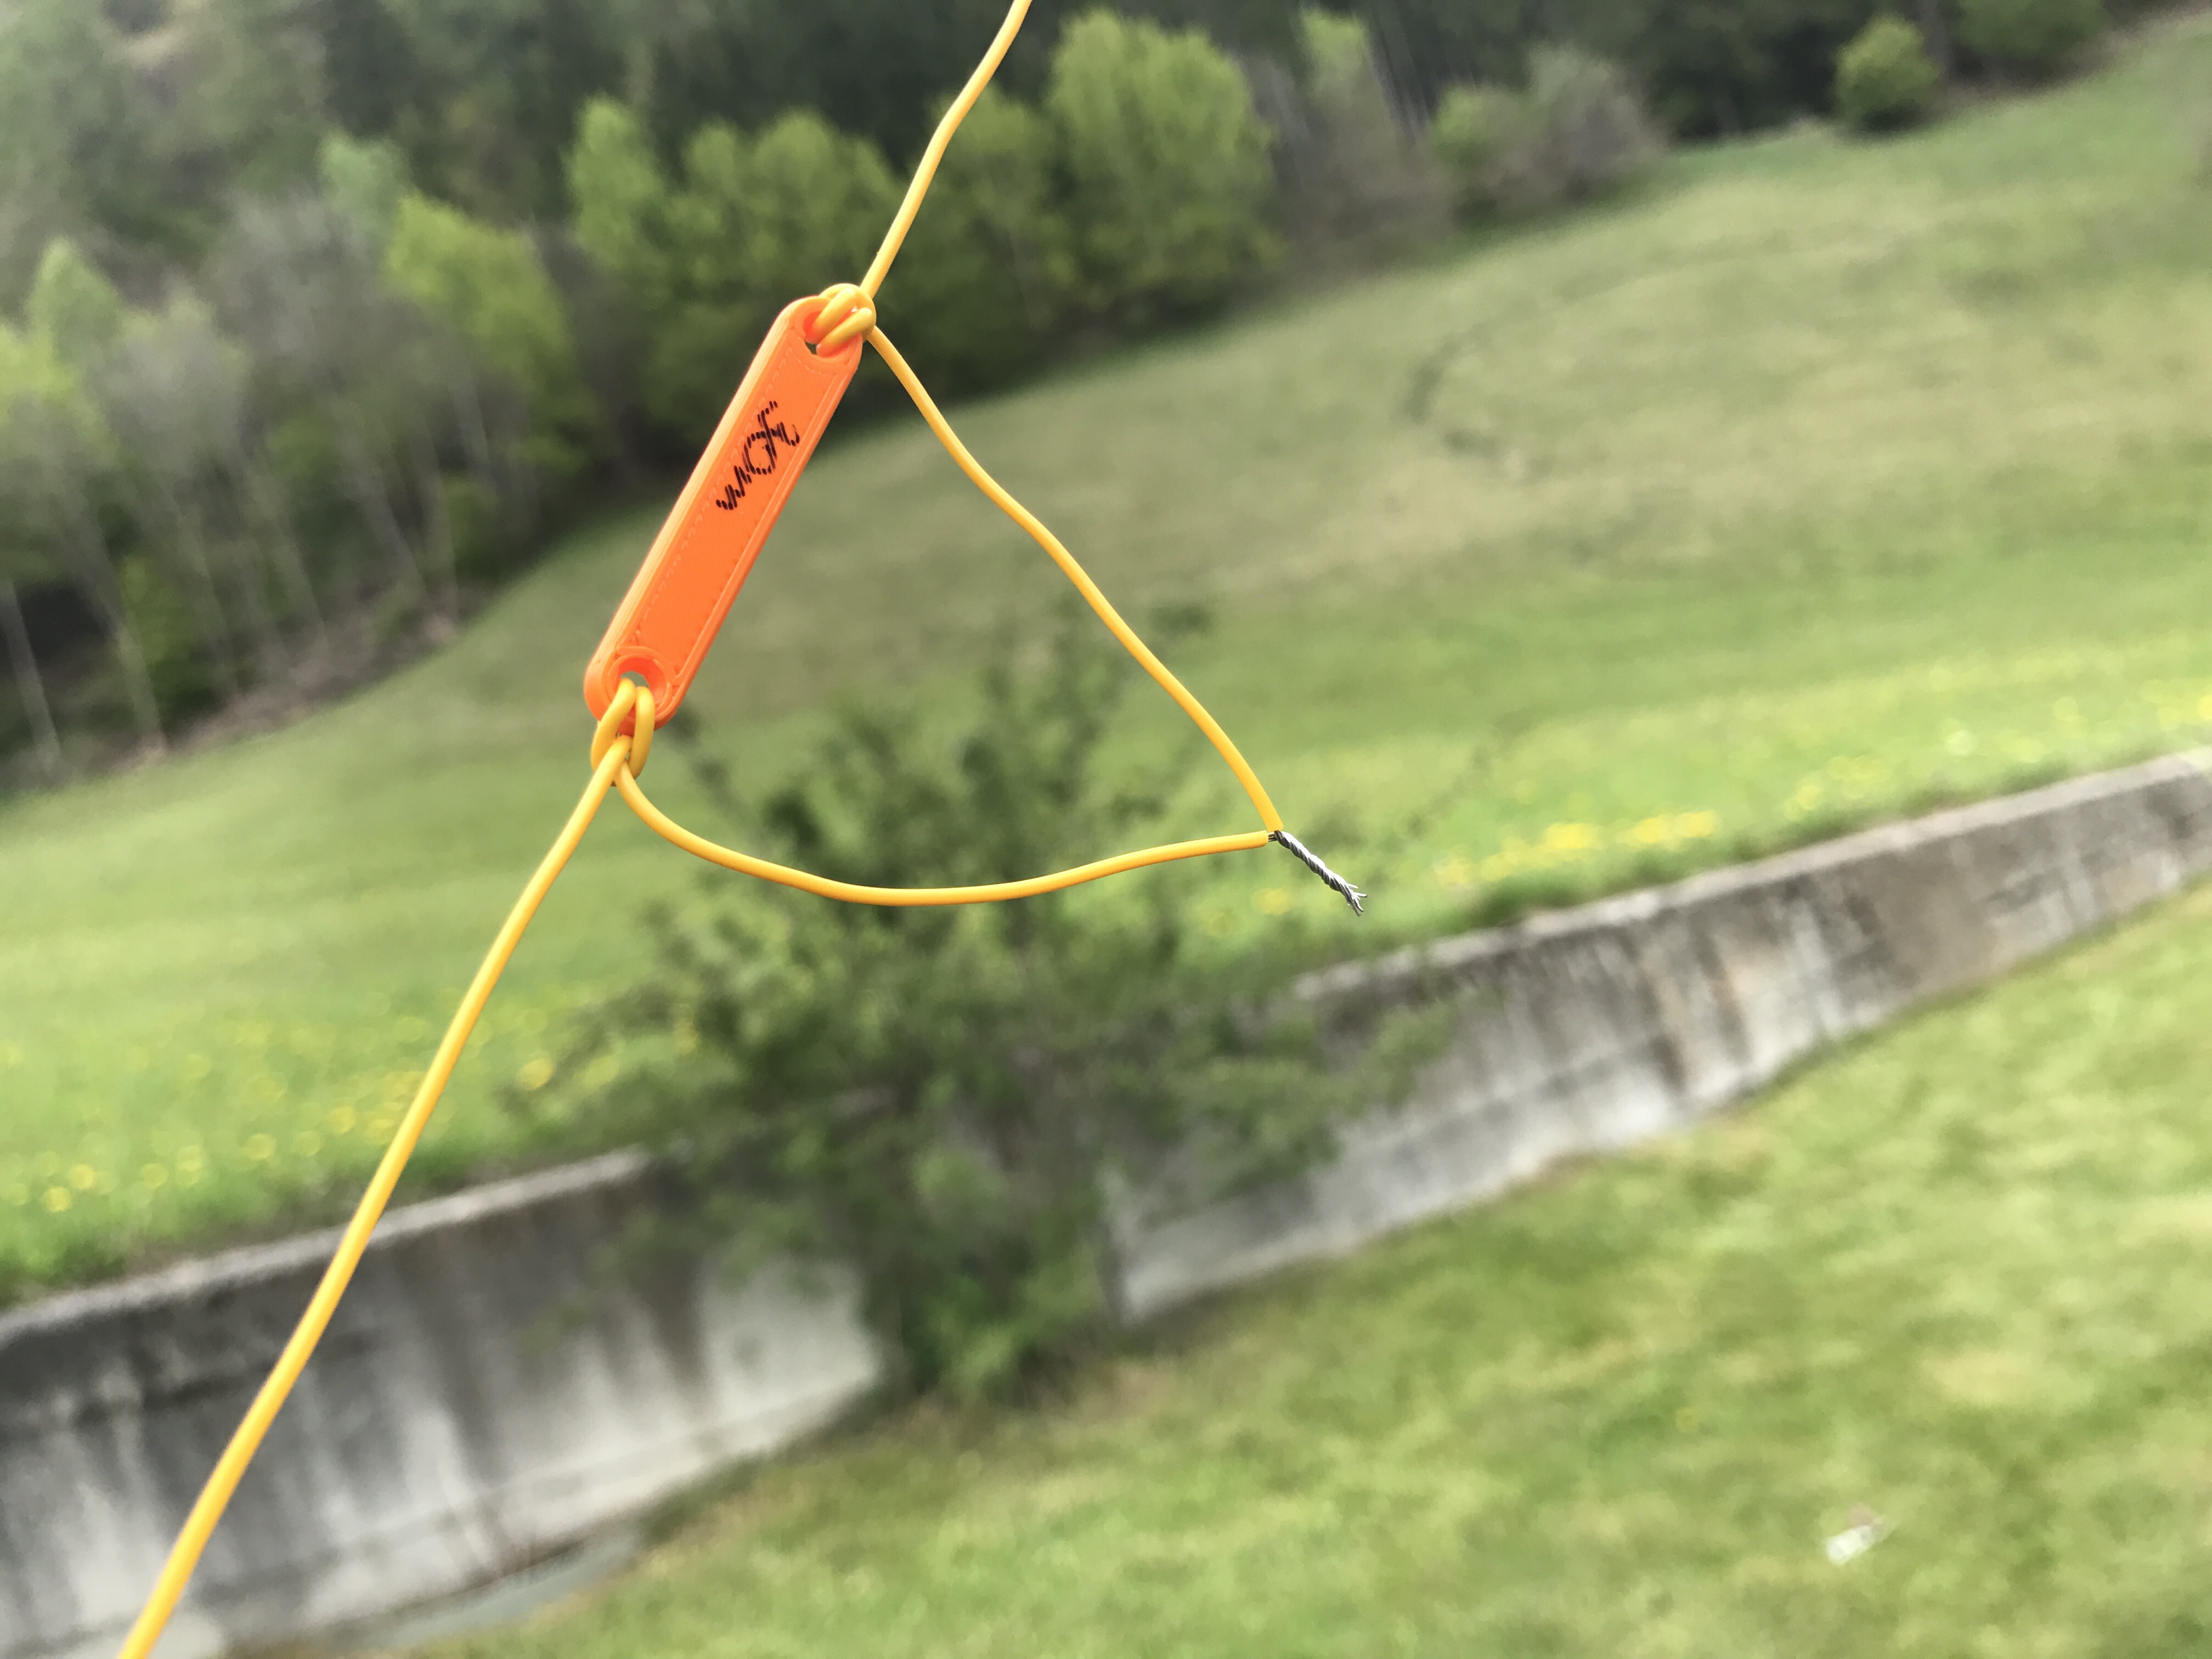
Now if the antenna is too long let the centerpiece down and cut the same lengh of wire away on both sides. I have began with about 4cm. Just loose the knot a little, make the antenna shorter and tighten the knot again a little.
Not put the antenna up again and measure again.
Do this to get a good swr (i would say 1.0-1.3)
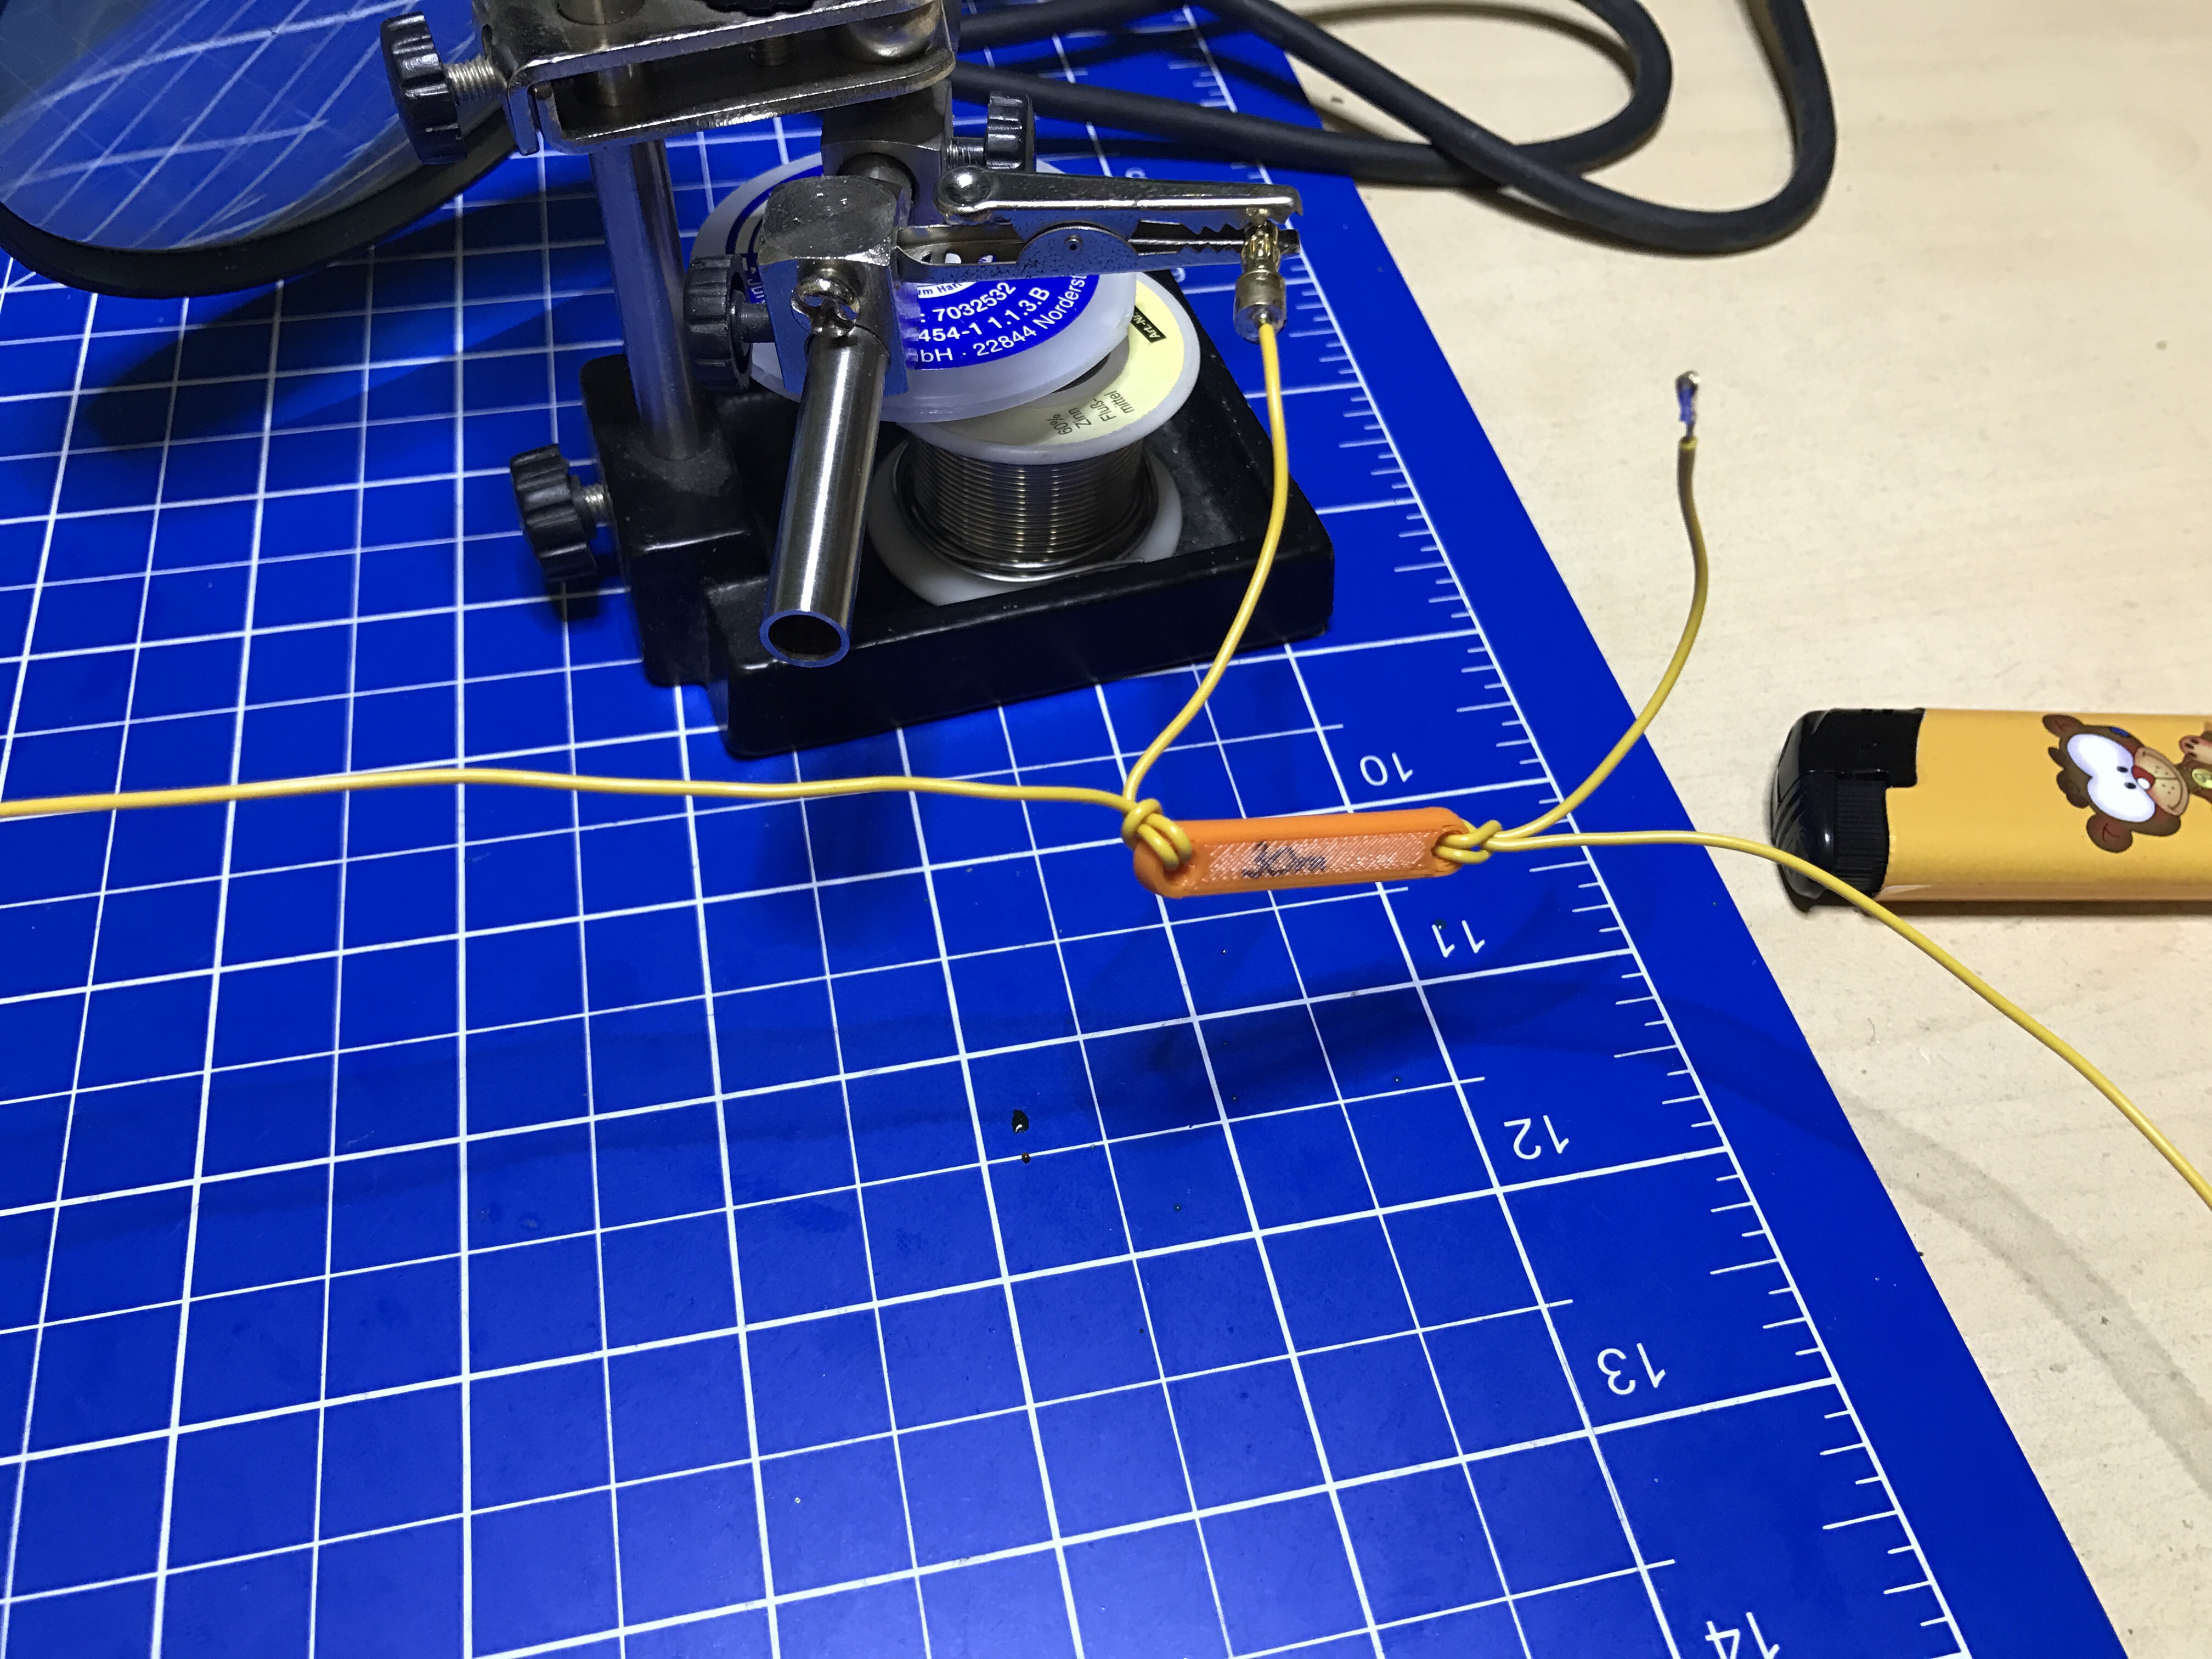
When the first band is ok let the antenna down again. Unisolate both wires on the first isolator and connect them by twisting them together.
Now put the antenna up again. Set your analyser for the 20m band (in my case i choose a frequency of 14.200mhz).
Now again measure the SWR and shorten the wire for a good SWR.
Do this for every band until you have a good SWR on the 80m band.
We are almost done. It took me about 2 hours but it was my first try and i fckd up one time by closing the connection on one band and a different on the other side. 🙂
When you are done solder your connectors on the unisolated wires. I have choosen some small banana plugs but you can also use some crocodile clips or something similar.
Now we are done. 🙂
Wind the wires on the centerpiece and wait for some good weather to try your new antenna in the nature.

Best wishes
Hoonse